analytics

Showing posts with label Soy-free. Show all posts

Thursday, June 23, 2011

Homemade tonic water


Several friends have invested in seltzer makers. They save money and make fun farting noises, what is not to love? The discussion about whether it was possible to make homemade tonic water arose. Always a fan of an overly complicated way to make something from scratch that is probably cheaper and easier to just purchase, I decided to research the project immediately.

Step 1 - find a recipe
There are several out there, but almost all point to Jeffrey Morgenthaler's How To Make Your Own Tonic Water. Other recipes offer more exotic mix-ins, and some offered sugar rather than agave nectar as sweeteners. 

Step 2 - find ingredients
I knew that citric acid was available at the co-op, but I could not find the cinchona bark - the ingredient that contains quinine - anywhere. I tried the health food store, the food co-op, spice shops; a friend even translated cinchona into pinyin and I attempted to find the bark at 3 pharmacies in Chinatown. No dice.

I finally broke down and purchased online from Penn Herb Co for $25/lb. plus shipping. I had to get a pound of the stuff, and the recipes only call for a quarter cup, so its safe to say that this is going to be one of many attempts at tonic water.

Step 3 - Making the goods

Tonic Water Syrup
4 cups water
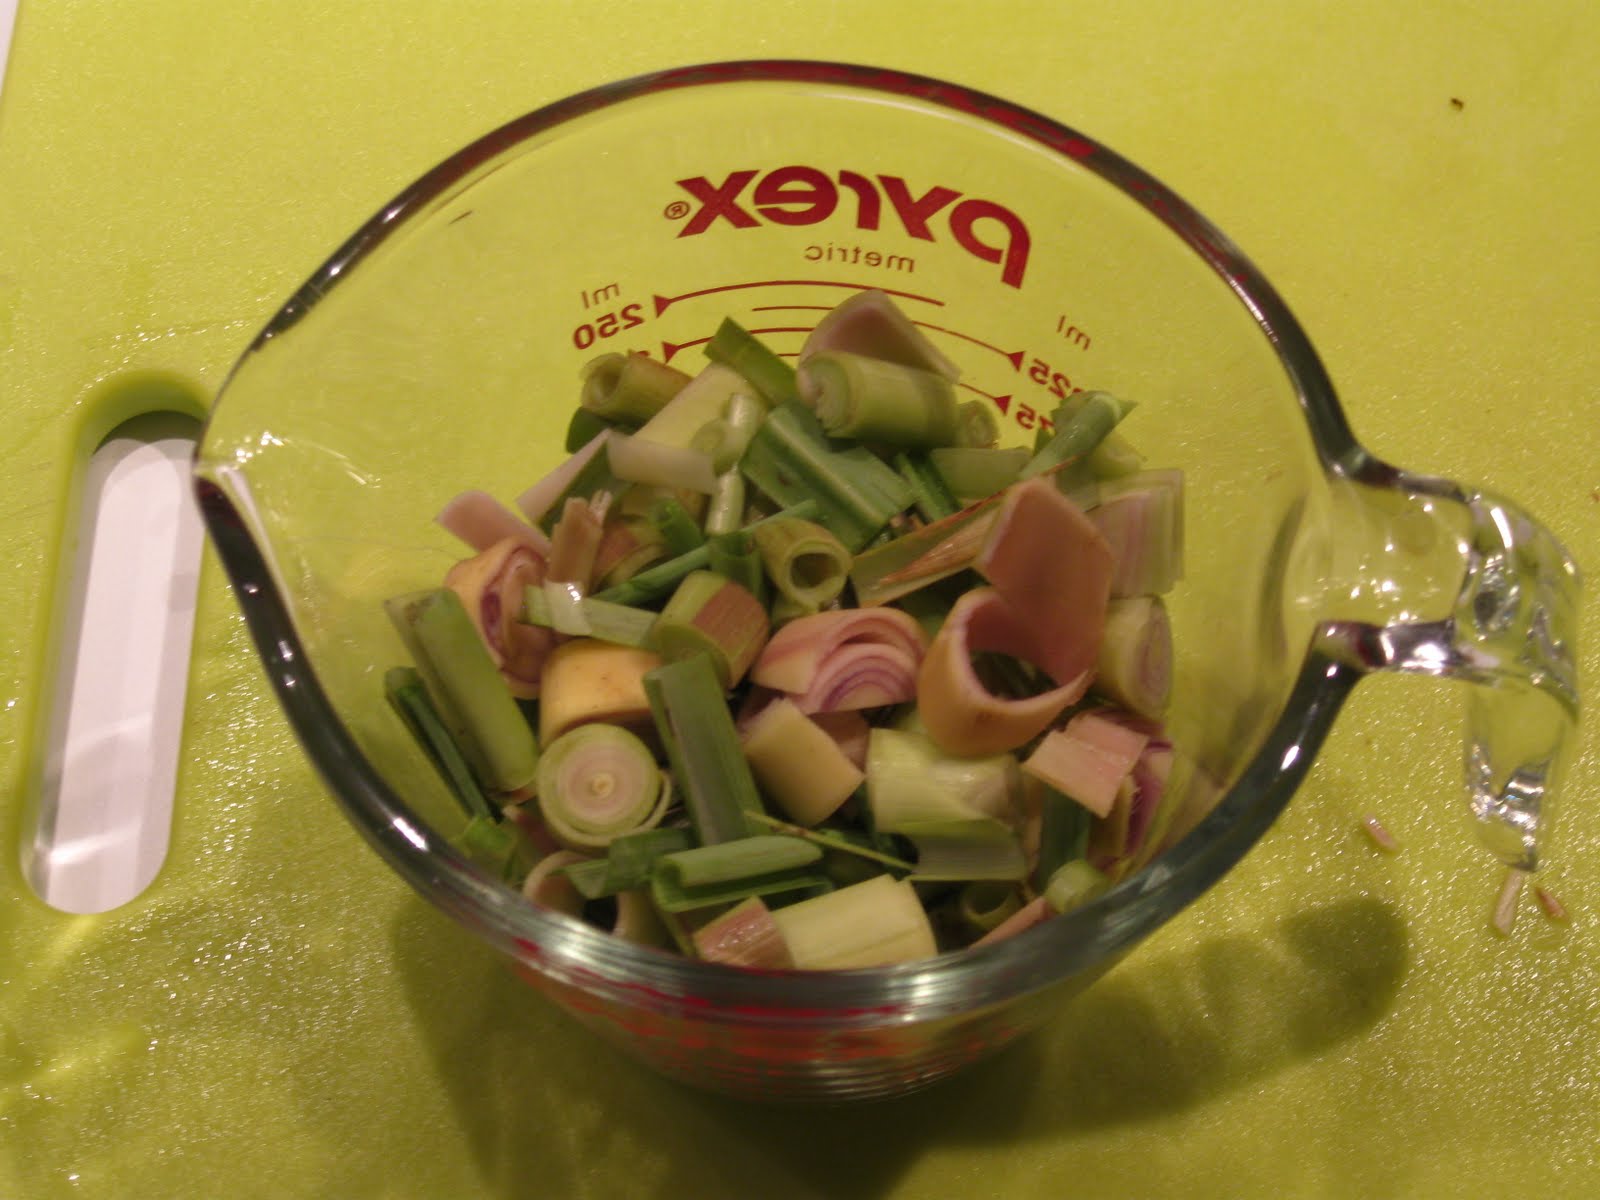
1 cup chopped lemongrass
¼ cup cinchona bark
zest and juice of 1 orange
zest and juice of 1 lemon
zest and juice of 1 lime
zest and juice of 1 grapefruit
1 tsp whole allspice berries
1 tsp whole coriander seeds
¼ cup citric acid
¼ tsp Kosher salt

3 cups of sugar
1 cup of water

1. Combine the 4 cups of water, bark, zest, juice, spices, citric acid and salt into a sauce pan.
2. Bring to a boil, lower and simmer for 20 minutes.
3. Allow the mixture to cool, then strain through coffee filters - this takes a while.
4. In a clean sauce pan, combine the strained mixture with 1 cup of water and 3 cups of sugar. Bring to a low boil to disolve all the sugar.
5. Allow the mixture to cool.
6. Combine the mixture with seltzer and booze of your choice.
¾ ounce of syrup, 1½ ounces of gin and 2 ounces of soda water - is what Morgenthaler recommends. I prefer 1 part syrup to 2 parts soda water and 1 part vodka. But you have taste buds of your own, so do what feels right.
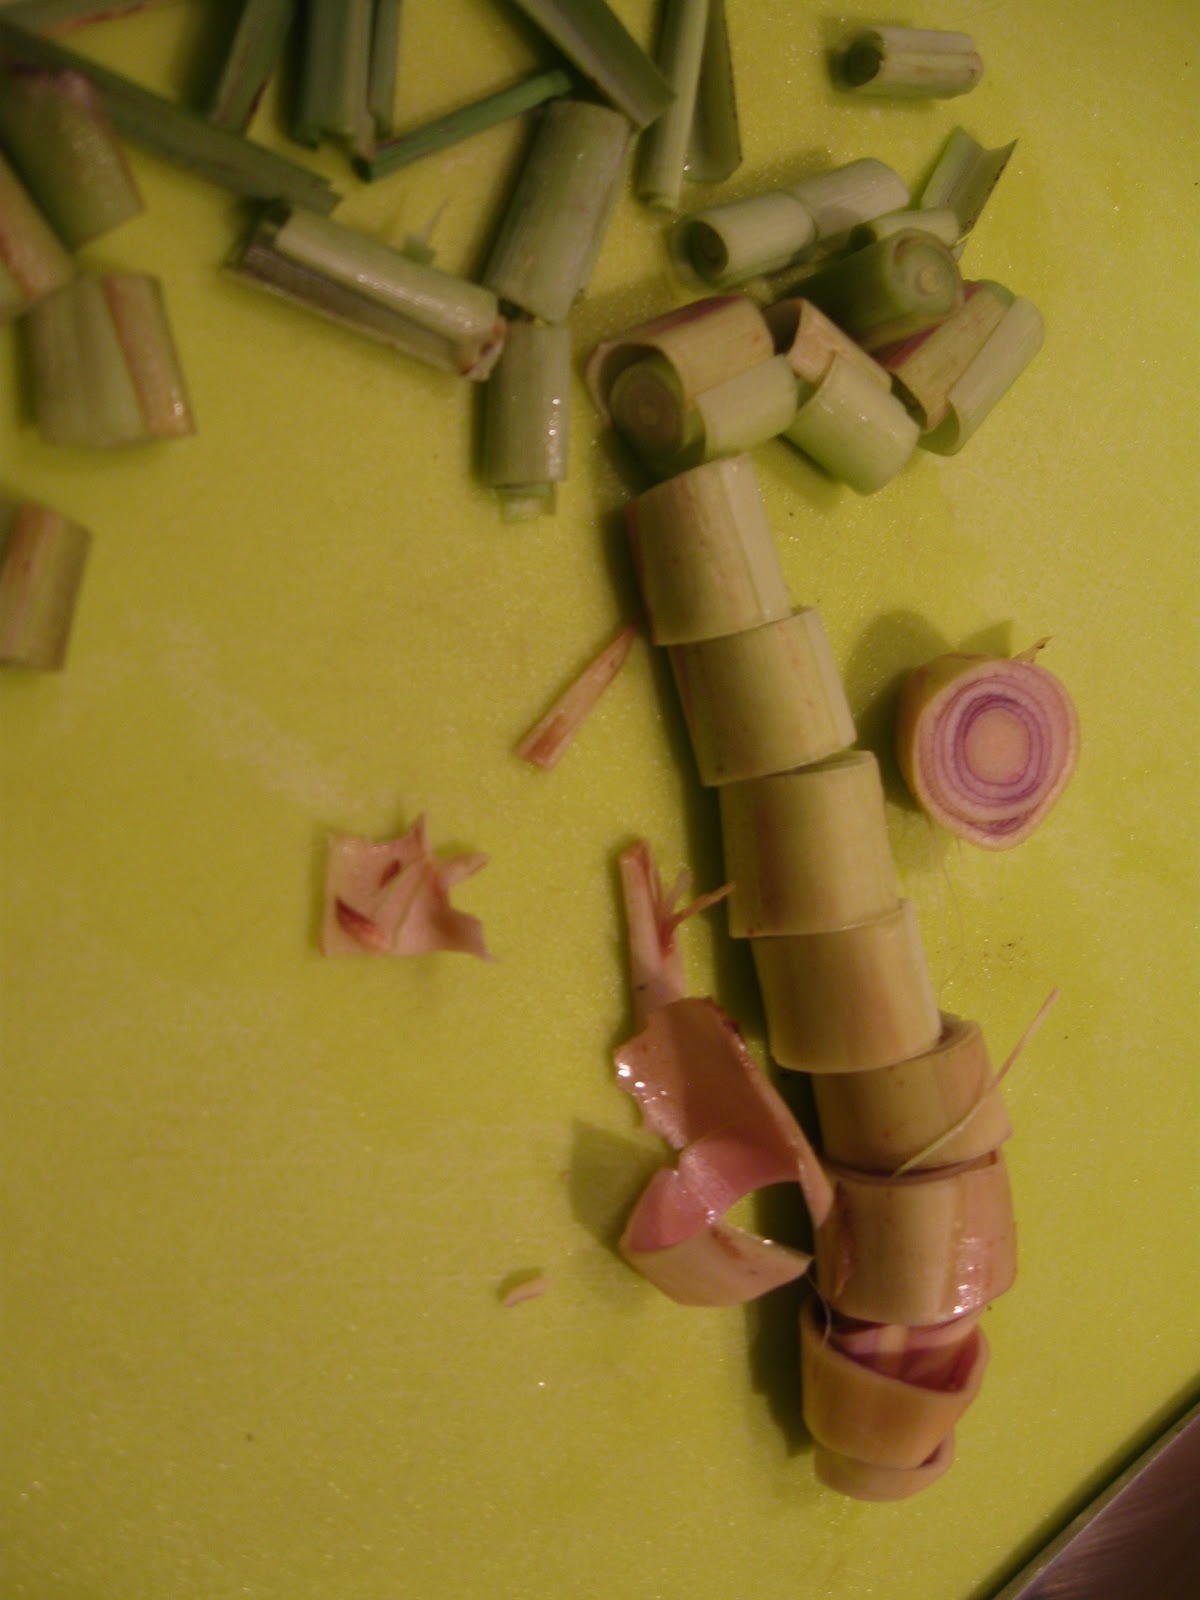
Lemongrass is a beast of a plant to cut. You will need a sharp knife, and probably 2 stalk = 1 cup chopped. Its worth it. Don't skip this step, plus the inside is PURPLE!


A rasp is key for this project - it will get the zest without the white pith.


EVERYONE IN THE POT!

Cool down...


The flavor is a lot more complex than the clear tonic water you can buy in the store. It is not nearly as sweet, and with the exception of the bitterness from the quinine, its hard to pick out each of the individual ingredients, but I mean that in a good way. The flavor is pretty complex, but it doesn't fight with the gin, if gin happens to be your mix-in of choice. I would say that if you have a soda-stream at home, to make the water extra farty, since stirring in the syrup does knock out some of the carbonation.

The final product is good, really good. Better than I expected and worth the effort.

Consider it summer and me tickled pink.

Wednesday, June 1, 2011

Daikon salad

It has really warmed up in Boston, so the idea of turning on an oven, or even the stove has ranged from -234 to about 1. (I am visiting Boston for a bit, and apparently compared to the scorching weather in D.C. I should not be complaining.)

With bbqs slated for the long weekend, I wanted to bring something bright, fresh and requiring zero heat to prepare. I found some fresh daikon in Chinatown and decided on a vinegar-but-not-quite-pickled salad.

The ingredients: daikon radish, jicima (I decided to omit, so just admire it), scallions, kolrabi, carrots, nappa cabbage and a jalapeno


Wash and peel the daikon:


With a hand peeler, or mandolin, very thinly slice the daikon. (I split it in half when the slices got too big for the peeler, so there were rounds and half moon shapes.)
Peel and ribbon the carrot - basically keep peeling the carrot, rotating it around so you get thin slices.

Cut the ribbons into thirds:

Peel the kolrabi - you are going to need a knife for the peeling part because the outside is thick and fibrous, but the inside is AWESOME. It tastes a bit like sweet broccoli, mixed with turnip. After its peeled, you can treat it like the daikon, and thinly slice it with the peeler or mandolin.
Clean the scallions and separate the greens from the whites. Thinly slice the white ends vertically to create long, thin slices. Save the greens for another thing.

Put all the chopped and sliced veggies into a salad spinner and SPIN. Get them as dry as possible.
In a separate bowl, add the sliced jalepenos - as much as you like (this pepper was very mild, so I kept the seeds in). Add in a few tablespoons of rice wine vinegar, a few teaspoons of sugar and a few good pinches of salt. (This is going to vary depending on how many veggies you have, start with 2 tbsp vinegar, 1 tbsp sugar and 1 tsp salt, and add more if you need it.)
Once the sugar and salt are disolved in the mix, you can toss in your veggies.
I added a little bit of lime juice to up the tartness. The longer the veggies sit in the mix, the more they will wilt and take on the vinegar flavor. Its great to serve it chilled with hot items off the grill.

Friday, February 4, 2011

gluten free soft pretzels


I walked a fine line between these two recipes and came up with something nearly perfect. The texture is SPOT ON. The flavor needs a little work. I think the dough needs to proof another time, get more yeasty and less rice or corny. These were fantastic hot, eaten the in the German style, split open with butter. Some really strong grain mustard and a little honey also was delicious. They didn't keep super well the next day, but I threw the left overs in the toaster oven and enjoyed a harder, crunchier version. This gives me some very specific thoughts about bagels... yes, bagels.

Soft Pretzels
1 1/2 cups water
2 tbsp instant yeast
2 cups sweet rice flour
1 cup corn starch
1 cup potato starch
1/4 tsp salt
4 tsp xanthan gum (yes, this much)
**
a few tablespoons of oil for rolling out the dough
2/3 cup baking soda & 10 cups water for boiling the pretzels
kosher or sea salt for sprinkling on the pretzels

1. Combine the water and yeast, let proof. (10 minutes or so)
2. In a separate bowl, combine the dry ingredients and mix well.
3. Add the dry into the wet and mix.
4. USE A DOUGH HOOK FOR THE FIRST TIME IN OVER 3 YEARS
5. Scrape the dough down and cover with plastic wrap or a wet towel. Allow to proof until it has doubled (maybe an hour or so, more if your kitchen is cool)
6. With well oiled hands, pull off balls of dough and shape them into sticks. (I tried for the traditional pretzel shape, but the dough is not resilient enough, so finger-thick sticks it is.)
7. Allow these sticks to proof, doubling in size - about 20-40 minutes.
8. Bring the 10 cups of water and 2/3 cup of baking soda to a boil. (Preheat your oven to 500F)
9. One at a time, place the dough sticks into the boiling water.
10. Remove after 30 seconds - you will notice a color change (darker dough) and they will puff up a little)
11. Sprinkle with salt and bake at 500F for about 6-10 minutes - this really depends on how thick your dough is. You are going for brown with some golden brown on the edges. Blistering is a good sign. You can take them darker if you like.
12. Enjoy them warm!

Marvel at the crumb structure. Eat too many and lie on the couch rubbing your belly (optional).